




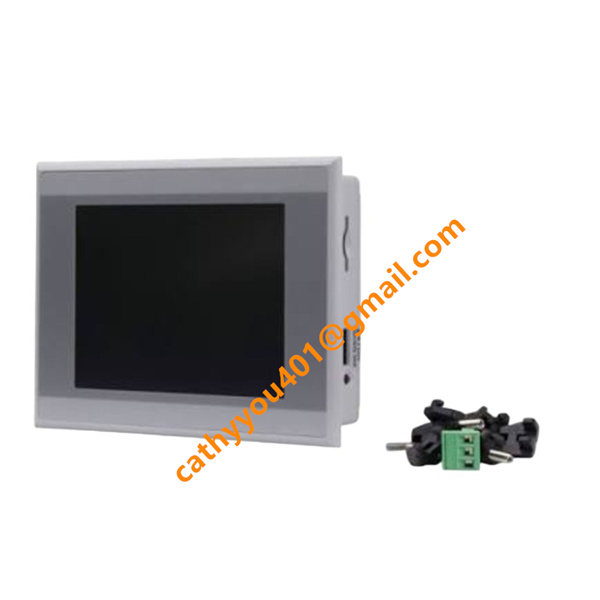







Description
-
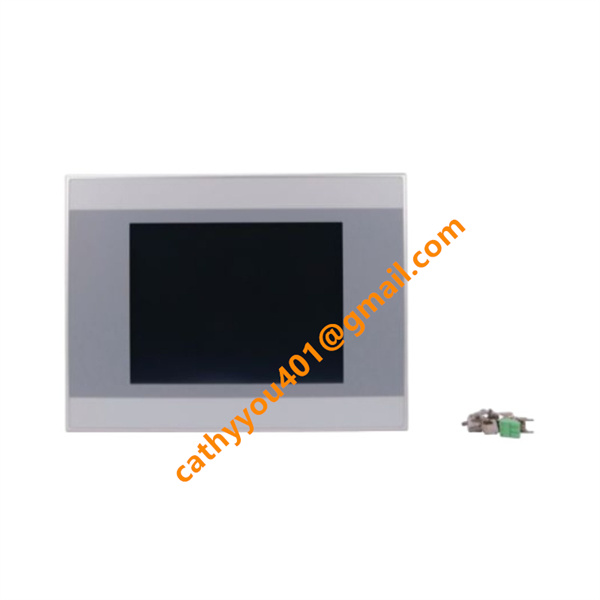
BrandEATON
-
ModelXV-232-57BAS-1-10
-
Product Name5.7-inch Industrial HMI Human Machine Interface Touch Panel
-
Place of OriginSwitzerland
-
HS Code8528591000
-
Dimensions198mm×142mm×38mm
-
Weight1.9 kg
-
Operating Temperature-20 °C to +60 °C
-
Storage Temperature-30 °C to +70 °C
-
Power Supply24vdc
-
Warranty12 month
-
Product StatusNew and original
EATON XV-232-57BAS-1-10 Input & Output Specifications
This EATON XV-232-57BAS-1-10 industrial HMI supports local signal acquisition and remote data interaction for industrial automation systems.
Digital Input
It provides 2 channels of optically isolated programmable digital inputs. Designed for 24 V DC standard industrial signals, it is compatible with common switches and sensors. The electrical isolation structure offers strong anti-interference performance and protects internal circuits from external field faults.
Communication Output & Data Output
This unit has no physical relay or transistor hardware outputs. All control commands, parameter data and fault alarms are transmitted via Ethernet and serial ports. It supports Modbus and CANopen protocols to exchange real-time data and send control commands to PLCs, servo drives and other peripheral devices.
Extended I/O Capability
Through bus network communication, the HMI supports extended system control. It can connect and manage up to 127 field devices to realize centralized data collection and distributed system control.
I/O Protection Characteristics
The onboard input channels feature surge protection and electrical isolation for stable operation under complex electromagnetic conditions. Communication ports adopt anti-jamming and error correction mechanisms to ensure consistent and reliable data transmission during long-term operation.

EATON XV-232-57BAS-1-10 Installation Method
Pre-installation Preparation
Fully power down the system before starting work. Inspect the HMI screen, touch panel and casing for any physical damage. Confirm the cabinet cutout size matches the HMI mounting dimensions. Choose a clean, dry installation location away from direct sunlight, severe vibration and strong electromagnetic interference. Leave adequate clearance for heat dissipation and future maintenance.
Panel Cutout Mounting
This HMI uses standard flush panel mounting. Insert the unit from the front into the reserved cabinet cutout. Attach the supplied mounting clips to the rear housing and tighten the screws evenly. Ensure the front panel sits flush against the cabinet with no gaps, and the device is securely fixed without looseness or vibration during operation.
Wiring Connection
Wire the 24 V DC power supply strictly following polarity requirements to prevent reverse connection. Connect Ethernet and serial cables for communication with PLC and other automation devices. Route and terminate the 2-channel digital input signals as required. Arrange all cables neatly, avoid sharp bends and tension, and ensure all terminals are securely fastened.
Pre-power-on Inspection
Double-check that the HMI is firmly installed. Confirm all power, signal and communication wiring is correct, with no short circuits, open circuits or loose connections. Verify the front panel and sealing gasket are intact to guarantee IP65 protection. Ensure ambient temperature and humidity comply with the device’s operating specifications.
Power-on & Commissioning
Reapply system power after completing all checks. Power on the HMI and confirm normal startup and display performance. Finish touch screen calibration, communication parameter configuration and signal function testing. Confirm accurate data display, responsive touch operation and normal signal acquisition to complete the full installation and commissioning process.